Cost-Effective Kitchen Upgrades
Your kitchen cabinets are showing their age. Maybe it’s the honey oak that looked great in 1998 or the dark cherry finish that now feels heavy and dated. You’ve priced out new cabinets and nearly choked on the estimate.
Here’s what many Niagara Falls homeowners are figuring out: those cabinets don’t need to go anywhere. A professional paint job can make them look like new installations at roughly a fifth of the replacement cost and the whole project wraps up in days, not weeks.
This guide walks through everything you need to know before deciding whether cabinet refinishing makes sense for your kitchen. It covers:
- How cabinet painting compares in cost to full replacement
- When your existing cabinets are good candidates for refinishing
- What the professional process actually looks like, step by step
- The cabinet colours Niagara homeowners are choosing in 2026
- Why DIY projects so often disappoint
Why Paint Cabinets?
The kitchen sells homes.
Real estate agents will tell you it’s the room buyers walk into first and remember longest. When someone tours a house, they open cabinet doors, run their hands along countertops, and imagine themselves cooking dinner there. An outdated kitchen can knock thousands off your asking price or leave your listing sitting on the market while fresher-looking homes get snapped up.
But updating a kitchen doesn’t require a demolition crew and a second mortgage.
Consider the basic math:
- Full kitchen renovations often cost $25,000–$75,000, depending on size and finishes
- Cabinet replacement alone can account for 40–50% of that budget
- Professional cabinet painting typically runs in the low thousands for an average kitchen
- Many homeowners save up to 80% compared to full cabinet replacement
There’s also the environmental angle worth considering.
Refinishing keeps old cabinets out of landfills and skips the resource consumption that comes with manufacturing replacements. Solid wood cabinets from the 1980s and 90s were often built from better lumber than what you’ll find in many mid-range replacements today.
Tossing them out to buy particle board alternatives doesn’t make much sense when a coat of paint can give them another twenty years of life.
What You Gain from Professional Refinishing
Choosing to refinish rather than replace your cabinets offers advantages beyond the obvious cost savings.
- Save thousands while achieving a similar visual result to new cabinetry: visitors won’t know the difference unless you tell them
- Wrap up the project in 3-5 days rather than waiting weeks for new cabinet installation, delivery delays, and contractor scheduling conflicts
- Keep your kitchen partially functional during the work: you can still use your refrigerator, microwave, and at least some counter space instead of eating takeout for a month
- Pick from virtually any colour to match current trends or your own taste, including custom-mixed shades that big-box cabinet retailers don’t offer
- Boost your home’s resale appeal, since updated kitchens consistently attract buyers and rank among the top renovations for return on investment
- Preserve older cabinets that were often built with solid wood frames, dovetail joints, and heavier construction than today’s budget and mid-range options
- Reduce waste by reusing existing structures and keeping perfectly functional cabinetry out of the landfill
For homeowners who bought a house with someone else’s design choices, cabinet painting offers an escape hatch. That builder-grade oak or the previous owner’s questionable colour picks don’t have to define your kitchen anymore. You get to make it yours without the upheaval of a major renovation.
How to Tell If Your Cabinets Are Good Candidates
Most kitchens qualify for refinishing as long as the cabinets are structurally sound. Walk through your kitchen and run through this quick checklist:
- The frames are solid and the hinges still work properly: doors hang straight and close without sticking
- Materials are wood, MDF, or paintable laminate
- Damage is mostly cosmetic: scratches, worn finish, minor dents
- You like your current layout and the number of cabinets you have, you just can’t stand looking at them anymore
You may want to consider partial or full replacement if:
- There’s serious water damage or swelling, especially under the sink
- Boxes are crumbling, warped, or pulling away from the wall
- You plan to significantly change the layout or add a lot more cabinetry
- Doors are severely damaged beyond simple filling and sanding
A reputable painting contractor will walk through your kitchen and give honest feedback on whether refinishing is the right choice.
What Goes Into Professional Cabinet Painting
Quality cabinet work isn’t just slapping on a coat of paint. There’s a reason professional results look so different from weekend DIY attempts, and why those results last for years instead of chipping and peeling within months.
Knowing what’s involved helps explain the process and the pricing.
Assessment and Prep Planning
Before any work begins, the painter evaluates your cabinet material, existing finish, and overall condition. Different surfaces require different approaches. Stained oak doesn’t prep the same way as painted MDF or thermofoil-wrapped doors. The existing finish matters too. Some older stains and lacquers need special treatment to prevent bleed-through or adhesion problems.
Removal and Labelling
Doors, drawers, and hardware come off systematically. Every piece gets labelled, usually with numbered tape that corresponds to a diagram, so it goes back exactly where it belongs. This matters more than you might think. Cabinet doors aren’t always interchangeable, and hinges that were adjusted for one location might not work properly in another.
Deep Cleaning
Kitchen cabinets collect years of grease, cooking residue, and airborne grime. The area around the stove is especially prone to buildup. All of that has to come off before any paint goes on. Professionals use degreasers and cleaning solutions designed to cut through kitchen residue without damaging the wood underneath. Skip this step or do it halfway and the paint won’t bond properly.
Repairs and Filling
Dings, dents, nail holes, and minor damage get filled and sanded smooth. Loose edges get glued down. If hinges have been moved at some point, the old holes get filled so fresh hardware sits tight.
Sanding
Every surface gets sanded to the right texture: smooth enough for an even finish but with enough tooth for the primer to grip. The grit matters, the technique matters, and the thoroughness matters. Glossy surfaces need more aggressive sanding. Old paint may need to come off entirely in spots. Skip this step or rush through it and the paint won’t bond properly no matter how good the products are.
Priming
A quality primer creates a stable base, blocks stains and tannins from bleeding through, and ensures even colour coverage. This step is critical when painting over dark wood, knotty pine, or old oil-based finishes. The wrong primer or no primer at all leads to discolouration, uneven sheen, and adhesion failure down the road. Professionals choose primers based on the specific cabinet material and the topcoat that’s going over it.
Paint Application
Cabinet-grade paint goes on in multiple thin coats, usually sprayed for that smooth, factory-finish look without brush strokes or roller stipple. Spray application requires skill and proper equipment such as HVLP sprayers and careful technique to avoid drips, orange peel texture, or uneven coverage. Each coat needs proper drying time before the next one goes on. Rushing this process shows in the final result.
Curing and Reassembly
Paint may feel dry to the touch within hours, but full curing takes longer, sometimes up to two weeks for maximum hardness depending on the product. Professionals wait until the paint has cured enough to handle before reinstalling doors and hardware. Rush this and you’ll end up with sticky surfaces, fingerprint impressions, or doors that stick to frames.
The whole process typically takes 3-5 days for an average kitchen, though some painters spread the work across a week to allow for optimal drying between coats. You’ll have some disruption such as doors being off, plastic sheeting up, the smell of paint in the air, but nothing like the weeks-long chaos of a full cabinet replacement.
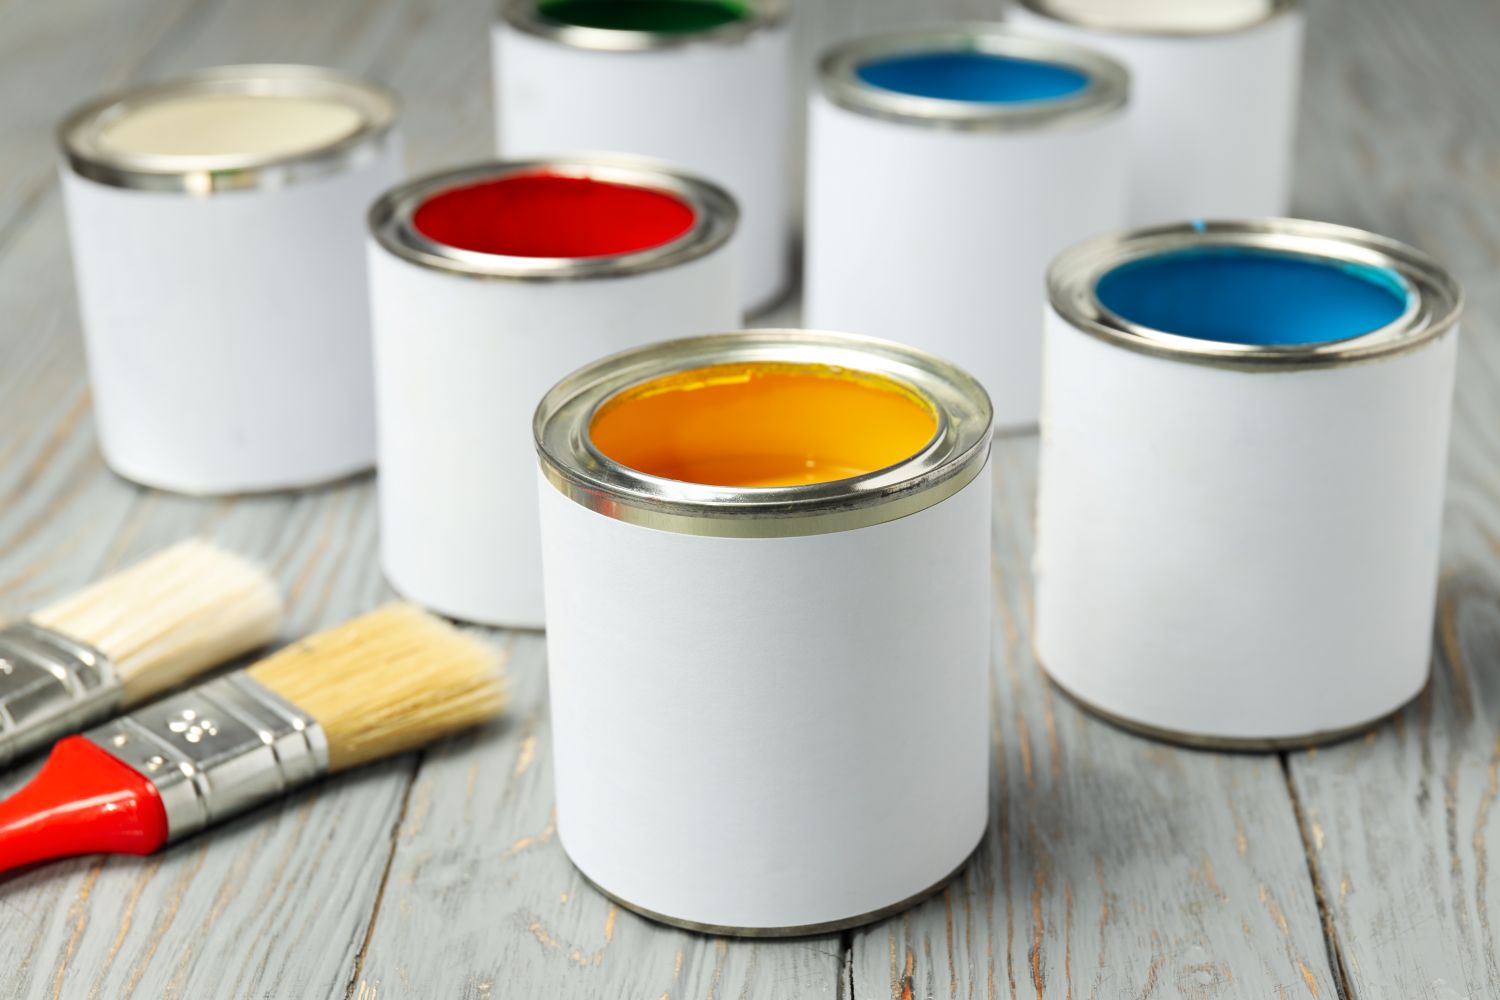
Cabinet Colours People Are Choosing in 2026
Refinishing gives you the chance to update your kitchen with colours that feel current rather than stuck in the decade your house was built. Here’s what Niagara homeowners are gravitating toward this year:
Warm whites and creams
- Softer than stark white
- Pairs well with most counters and backsplashes
- Makes smaller kitchens feel brighter and more open
Deep greens and rich blues
- Forest greens and navies for a sophisticated look
- Work beautifully with brass, gold, or black hardware
- Add depth without feeling too dark when balanced with light walls
Natural wood and stains
- Re-stained doors for a warm, organic feel
- Great for homeowners who like visible grain and texture
Earthy terracotta and clay tones
- Bring warmth and personality to otherwise neutral spaces
- Work well in more modern or eclectic kitchens
Two-tone kitchens
- Darker lowers with lighter uppers to ground the space
- Islands in a contrasting colour for a focal point
A painting professional can help you pick colours that work with your existing countertops and backsplash while avoiding choices you’ll regret in three years. They can also advise on sheen levels as the difference between satin, semi-gloss, and high-gloss finishes affects both appearance and durability.
Why Most Homeowners Skip the DIY Route
Online tutorials make cabinet painting look straightforward enough. Sand, prime, paint, done! How hard can it be? In practice, getting professional-quality results requires more than a weekend and a trip to the hardware store. There’s a reason most homeowners who attempt DIY cabinet painting once never do it again.
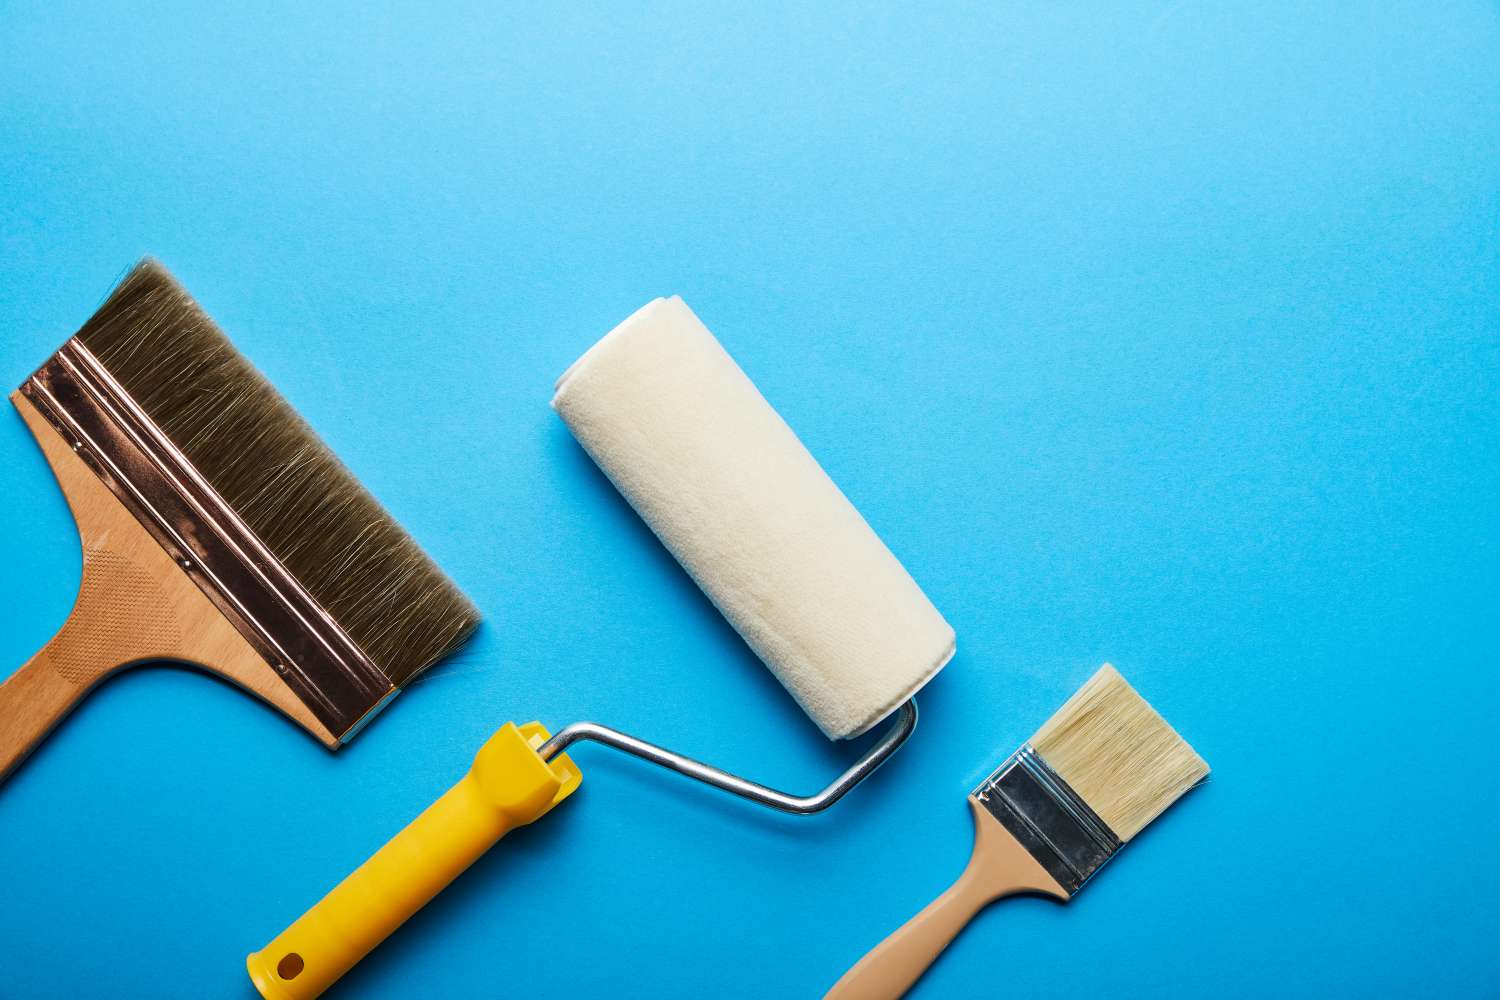
Equipment Matters More Than You Think
Commercial HVLP sprayers, specialty primers, and cabinet-specific paints produce smoother, more durable finishes than the brushes, foam rollers, and consumer-grade products available at retail stores. Brush marks and roller stipple are almost impossible to avoid completely when painting by hand, and they’re glaringly obvious on flat cabinet surfaces. The equipment professionals use costs thousands of dollars. Clearly that isn’t a reasonable investment for a one-time project.
Prep Work Is 70% of the Job
Different cabinet materials need different preparation, and getting it wrong means adhesion problems down the road. Oak has open grain that needs filling for a smooth finish. MDF absorbs moisture and can swell if not sealed properly. Thermofoil requires special primers to bond. Laminate needs scuffing and the right adhesion promoter. Professionals understand surface chemistry and what each material requires for paint to stick and stay put.
The Time and Mess Add Up
A job that takes pros a few days can stretch across multiple weekends for a homeowner… and that’s if nothing goes wrong. You need space to lay out all the doors for painting, proper ventilation for fumes, and somewhere for the family to eat while the kitchen is torn apart. Meanwhile, paint dust settles on everything, the garage becomes unusable, and the project drags on longer than anyone anticipated.
Mistakes Are Expensive
Drips, brush marks, dust nibs, orange peel texture, uneven coverage… any of these flaws means sanding back and recoating. Runs in the paint mean starting that door over entirely. Adhesion failure a few months later means stripping everything and beginning from scratch. The cost of materials for DIY cabinet painting can easily hit $500-$1,000 for quality products, and that’s money down the drain if the results aren’t up to standard.
Accountability Counts
Reputable painting companies warranty their work. If something goes wrong, you have recourse. They’ll come back and make it right. With DIY, you own every drip, every brush mark, and every hour spent trying to fix what went wrong.
For homeowners who genuinely enjoy hands-on projects and have realistic expectations, DIY cabinet painting can work. But for most people looking for results they’ll be happy with five years from now, hiring professionals is money well spent.
Small Upgrades That Complement New Cabinet Paint
While you’re updating the cabinets, a few inexpensive additions can amplify the results and make your kitchen feel like a complete renovation rather than a simple paint job.
- New knobs and pulls in modern finishes like matte black, brushed brass, or stainless
- Soft-close hinges to eliminate slamming doors
- Under-cabinet LED lighting for better task lighting and evening ambiance
- Fresh caulk lines where cabinets meet walls and ceilings
- Painted interiors for glass-front or open-shelf sections
- Updated outlet covers and switch plates to match the new look
These relatively inexpensive touches help your refreshed cabinets feel truly “new,” not just repainted.
Local Expertise for Niagara Kitchens
Niagara Falls homeowners looking to update their kitchens without the chaos and expense of a full gut job have a practical option in cabinet refinishing. The climate here means proper preparation and quality materials matter even more than in milder regions.
Tresham Painting brings the equipment, materials, and hands-on experience needed to get cabinet refinishing done right in Niagara Region homes. Whether you’re preparing your house for sale, tired of looking at dated woodgrain every morning, or just ready for something different after years of staring at the same kitchen, painted cabinets deliver visible results that hold up over time.
With proper preparation, quality materials, and skilled application, your existing cabinets can rival the look of custom cabinetry at a price that actually makes sense. The transformation is often dramatic enough that friends and family assume you replaced everything until you tell them the real story.
If you’re curious what cabinet painting could do for your Niagara Falls kitchen, reach out to the team at Tresham Painting for a consultation. They can assess your cabinets, discuss colour options, and give you a realistic picture of what the project would involve.